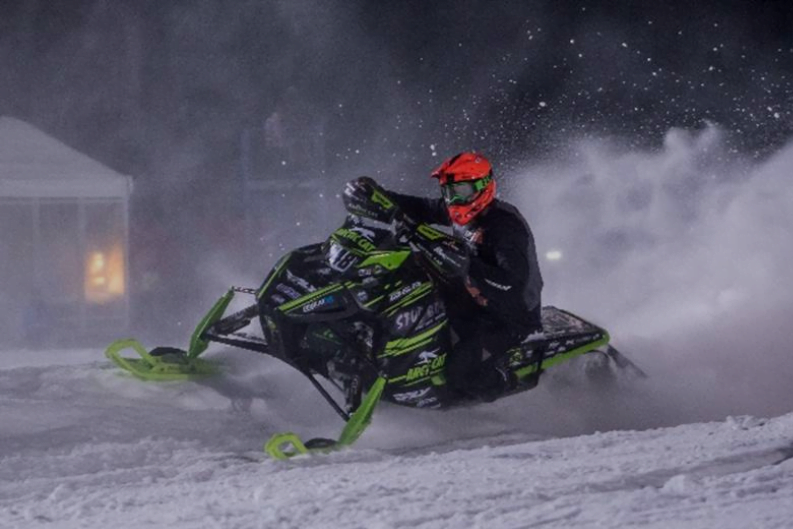
How to Stud Snowmobile Track | Easiest Way
Studding your snowmobile track is a way to enhance traction on slippery surfaces, granting you improved grip during acceleration, braking, and turning maneuvers. The studs provide additional traction to help you navigate challenging conditions with increased confidence and control.
In this guide, I will provide a detailed step-by-step process to effectively stud your snowmobile track, enabling you to maximize the benefits of enhanced traction during your rides.
So grab your studs and let’s begin the process.
What to Consider While Studding a Snowmobile Track
Stud Style: It is crucial to ensure that you select the appropriate style of studs that matches your snowmobile track. Snowmobile tracks are available in either one-ply or two-ply designs, and it is essential to choose studs specifically designed for the corresponding style of track you have.
Stud Length: Depending on the desired level of added traction and the type of track you have, you should choose a stud length that aligns with your needs. It can be a matter of personal preference, but contacting the manufacturer for their recommendations is also a good idea.
Loctite: While not necessary, applying Loctite to the stud and nut threads can prevent loosening. However, if you anticipate removing the studs later, it’s best to skip this step.
Consider using carbide-tipped studs for their superior durability. Explore top stud options and always measure your snowmobile track.
Tools You Need to Install Studs on a Snowmobile Track
To complete this task, you will require a set of standard tools in addition to the specific stud or traction kit you have chosen. The sizes of the tools needed will vary depending on your snowmobile model.
Required Items:
- Stud kit or package
- Cordless drill
- Socket set
- Tape measure
- Hex bits
- Track marker or paint pen
- Track cutter
- Shop blanket or rug
- Stud pattern outline or reference
How to Stud Your Snowmobile Track Properly
Once you have gathered all the necessary parts and tools, it’s time to begin the process. The following instructions outline my preferred method of studding a track, but it’s important to note that there are various methods to accomplish the task successfully.
Step 1. Lay down a blanket and turn the snowmobile on it
Prepare a shop blanket, drop cloth, or rug next to your snowmobile and gently tilt the machine on its side (assistance from another person is recommended). Ensure there is ample space for maneuvering the track and for your mobility around the snowmobile.
Alternatively, if you have a snowmobile lift that does not lift the machine by the track, you can utilize it instead of tipping the snowmobile over and make sure you don’t cause any damage to your sled.
Step 2. Loosen the belt (if required)
In some cases, you may need to loosen the drive belt to access each section of the track. While not all snowmobiles require this step, if needed, a hex wrench at the belt drive location should allow you to accomplish it.
Step 3. Select your stud design and mark the stud spots
Next, select a stud pattern and mark the locations on the track. It is recommended to use the template provided in your stud kit for an optimal traction layout that ensures sufficient grip.
Place the template over the track and use a paint pen to mark the stud locations through the holes. If a template is not available, you can use a tape measure to determine the stud placement and make marks accordingly.
You have the flexibility to select different layouts and templates based on the number of studs you prefer and the type of riding you engage in. These templates are often included in your kit, or you can print them out to ensure they align with your specific track.
Step 4. Cut-out stud holes
Attach the cutting tool to your drill. Carefully drill holes at each marked stud location, ensuring that you do not push the drill too far and damage other parts of the snowmobile. Repeat this process to double-check that all the necessary holes are drilled to match your chosen stud pattern.
Step 5. Insert Stud into Track
Once all of the holes have been drilled, you can insert all of the studs. Make sure that you point the end of the stud toward the outside of the track. Push each stud in firmly and hold it in place while you move on to the next step.
Step 6. Attach backer and Nut
If you are using a single stud style template, you’ll need to attach a backer and nut to each stud. Place the stud through the opening of the backer and then loosely screw down the nut.
Repeat this process for all the studs, loosely attaching them until each one is in place.
Step 7. Tighten the Nuts
After positioning all the studs, proceed to tighten each one securely. Utilize a wrench and socket or a drill with a socket extension for this task. Torque the nuts to ensure they are firmly fastened without causing damage to the track or cracking the backer.
It is advisable to inspect the track twice to verify that every stud has been properly tightened.
Step 8. Flip the sled over or lower it down
Return the snowmobile to an upright position or lower it from the lift. Congratulations, your sled is now studded up and ready for action!
How Much Does it Cost to Stud a Snowmobile Track
Adding studs to your snowmobile track is a cost-effective undertaking. The expense can range from as low as $60 to over $100, depending on the number of studs required. The choice of stud manufacturer may also influence the overall cost.
Stud Template Directions
The easiest and most useful stud pattern would be an A or V pattern. The idea behind studding is to vary your scratch lines, (lines of traction), as much as possible.

The standard practice for studding involves focusing on the center of the track for improved acceleration, while the outer belt is utilized for cornering and braking. To increase the number of studs, a V pattern can be used, starting another V within the existing one at row 6.
For double backers, one hole can be marked using the pattern, while the other hole should be marked using the backing plate itself to maintain consistent hole spacing.
Conclusion
Now you realize that studding a snowmobile track is a relatively simple do-it-yourself task. With common tools and a stud kit, the entire process can be completed in less than an hour.
Always refer to the manufacturer’s instructions for precise installation guidelines, as there may be slight variations. Additionally, be mindful that studded tracks can cause surface damage, so check local regulations before riding in certain areas.


